April 19th, 2013, Daughter went to the Aquarium for the first time, there I noticed she loved watching the moving fishes.
Original Concept

Surfin online for DIY fish tanks and stumbled on this guy. I liked the look and since mine was a 20 gallon versus the pictured 29 gallon, I was able to reduce the strength in the cabinet. I went ahead and bought 2×2’s for the corner legs and 1/4″ plywood for the panels. I will add a flat panel door to the front.
Implementation
Trying to save costs, I had leftover 1/4″ AC plywood lying around and so I only needed to purchase the 1×4’s to box the top and bottom and 1×6’s to build a frame around the fish tank.
Cut the 1×4’s to proper length based on the aquarium length and depth. Using the new router cabinet, cut slots for biscuit. Glue together with biscuits for a strong joint.
After the top box and bottom box are done, nail a layer of plywood on top of one of the boxes, this will serve as a platform for the aquarium.
Route the bottom box’s top outer edges for a finished look.
Then I, placed the aquarium on top of the plywood top, and layered the 1×6’s so that the bottom plastic frame of the aquarium is covered. Cut and glue the 1×6’s to the top box. I used 45 degree miter cuts so the edge is aligned with the edge of the box.
Note:Use scrap wood to ensure 45 cuts will meld to 90.
Route the top box’s face frame similar to the bottom box.
I rabbeted the 2×2 legs to the depth of the plywood.
Screw and glue the 2×2 legs to the top boxes.
Cut the plywood to the dimensions of the 2×2 rabbet joints and nail to 2×2’s
Slip on the bottom box and glue and screw.
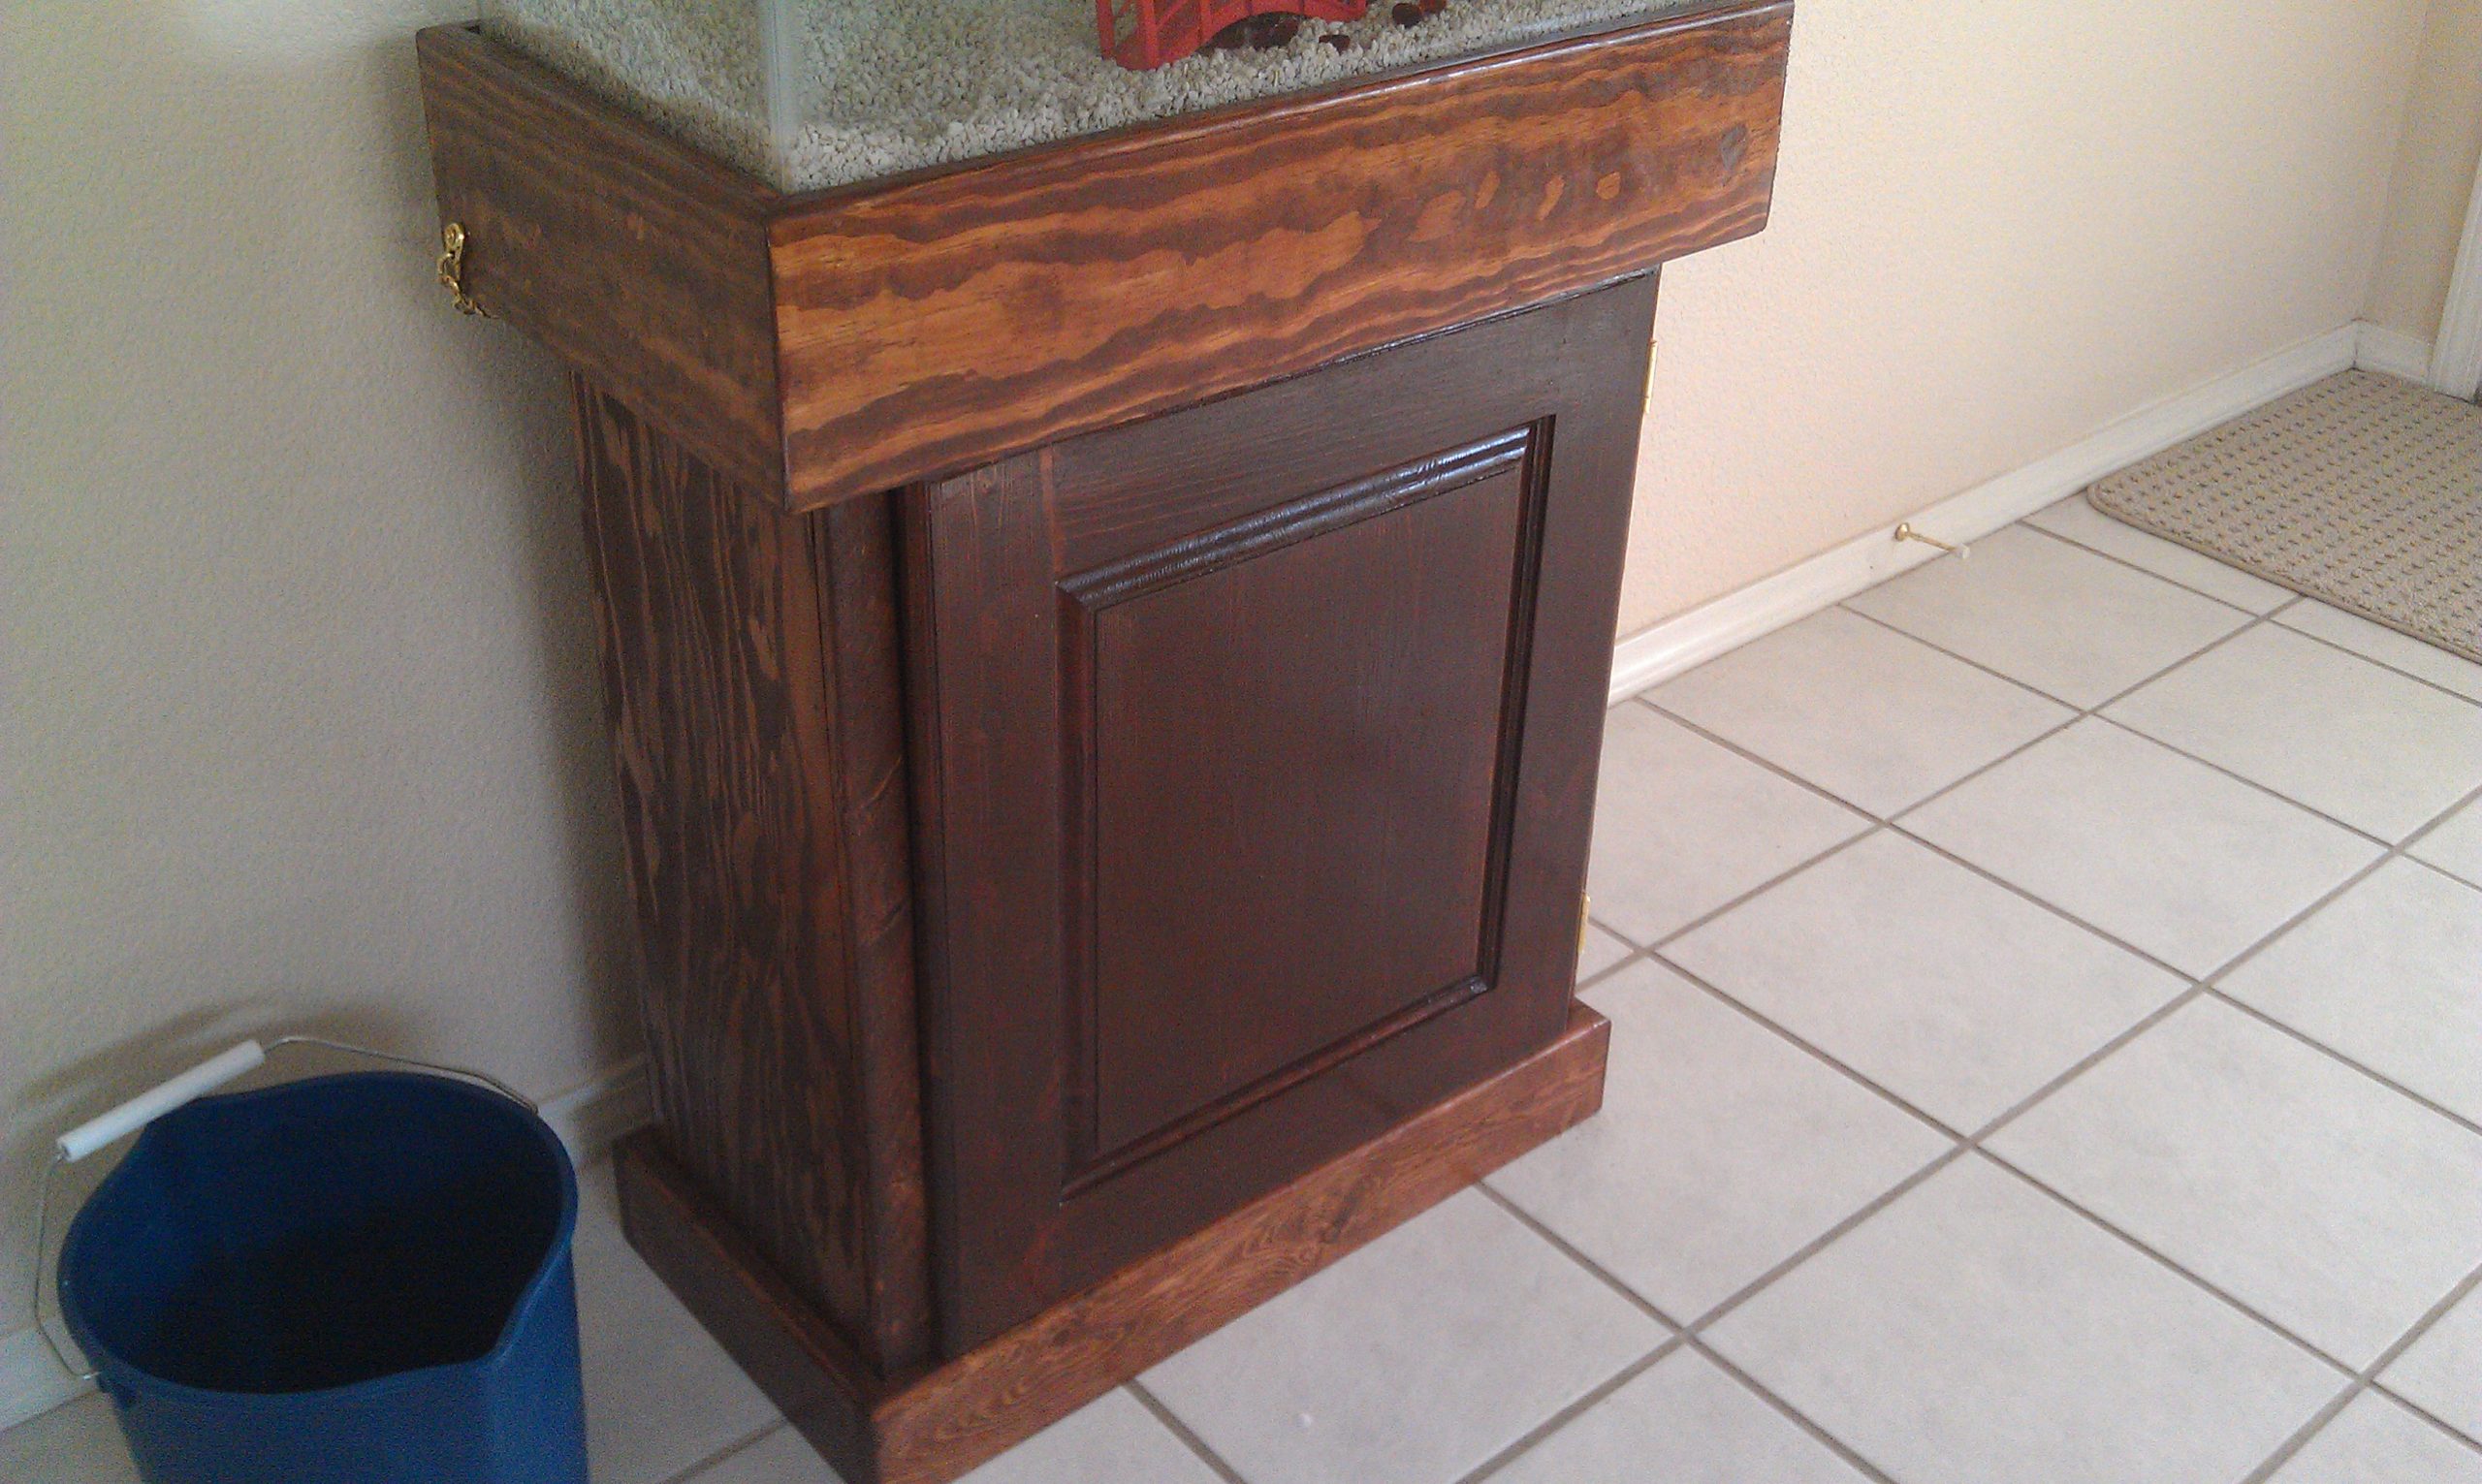
Sand, Stain, and Polyurethane.