Dad decided this year (2026) to start a woodworking project and build a backyard patio table. The family never had one since moving to Saint Tessy and searching for different designs, he decided to follow a traditional apron table. A homestead style table is simple to construct and he felt capable to make it.
Inspiration
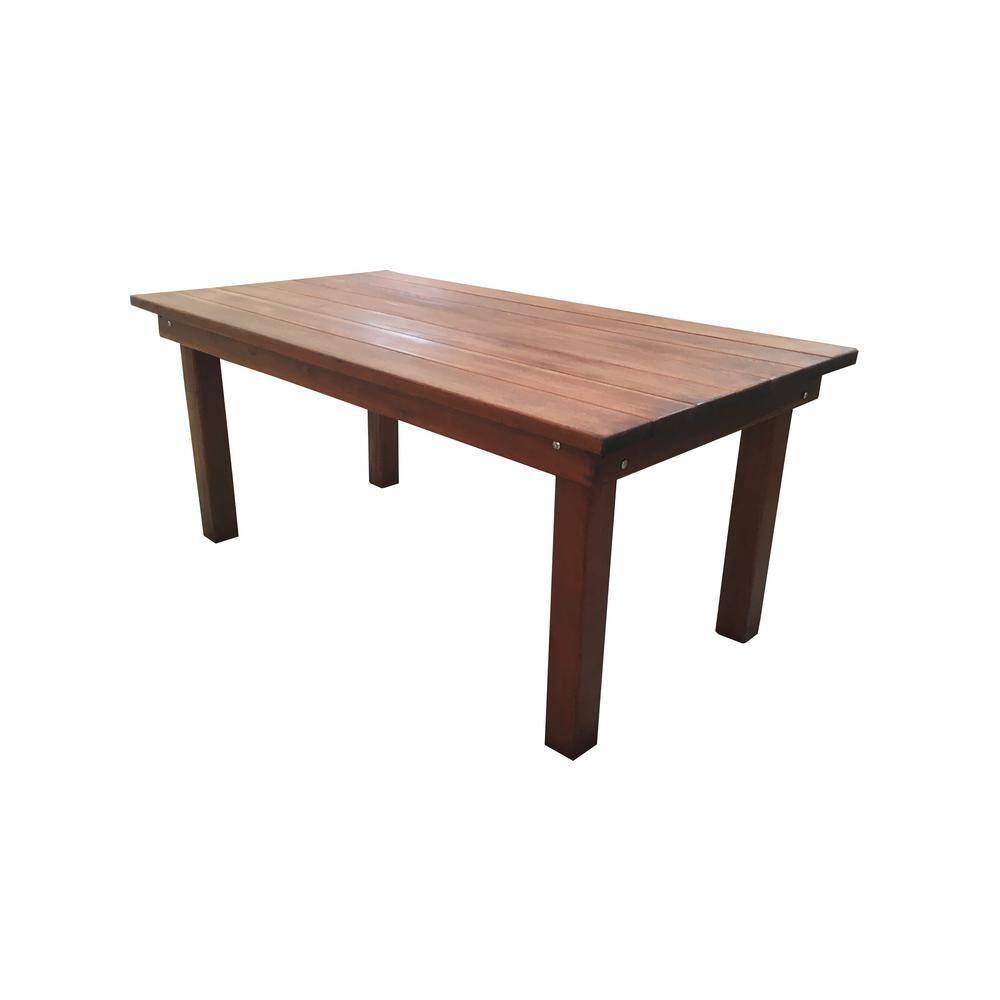
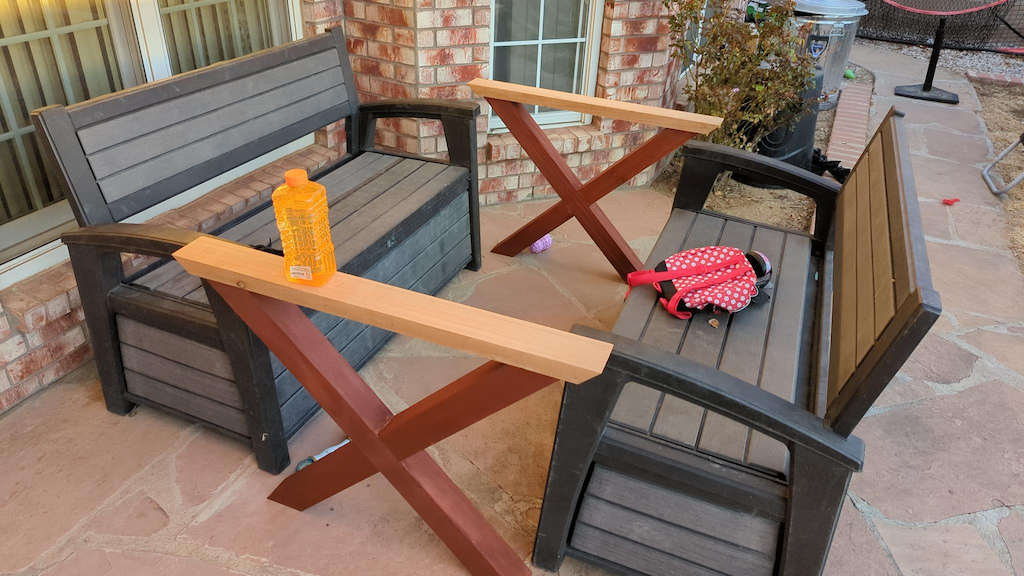
A table you can buy at Home Depot, at the time of writing was $1778.
Design
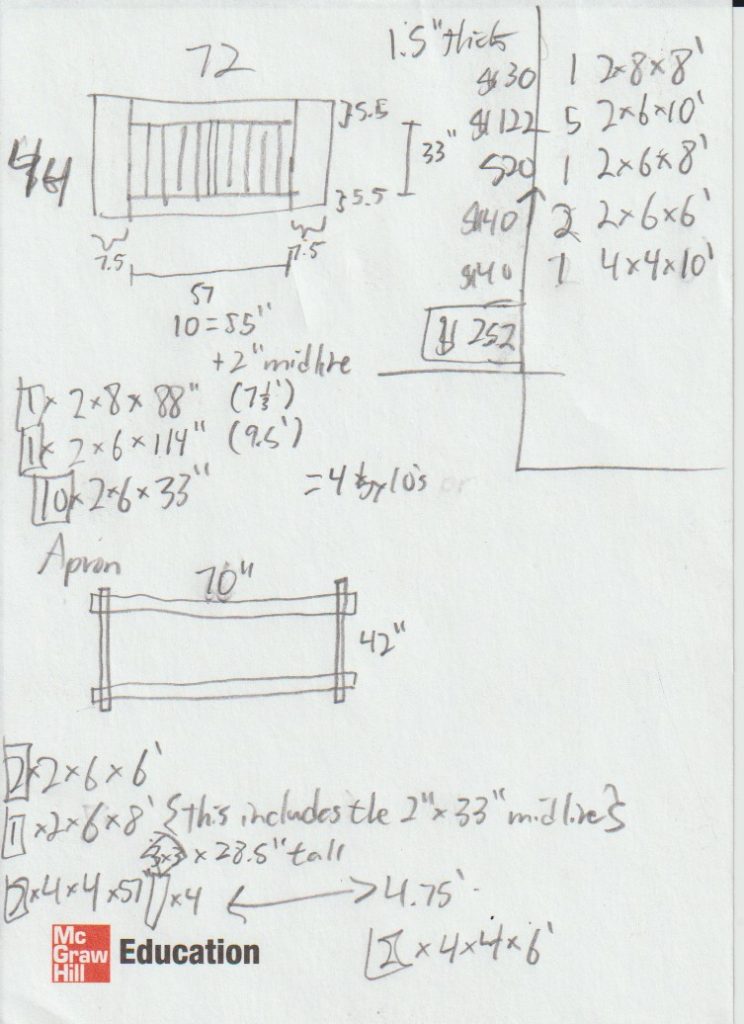
Dad first thought of the size he wanted. The table will be 44″x6′ and stand roughly 30″ tall. He picked breadboard ended tabletop to give it more style than a picnic table and will try a tenon mortise joinery for strength. Several months earlier, he bought the lumber, cheap redwood for construction, to allow it to dry before starting on dimensioning it.
Building it
Legs
Dad started with the legs. Originally it was going to be 4 vertical corner legs but a design change (and that there was plenty of 4×4 wood) he created x-legs joined by a cross halving joint.
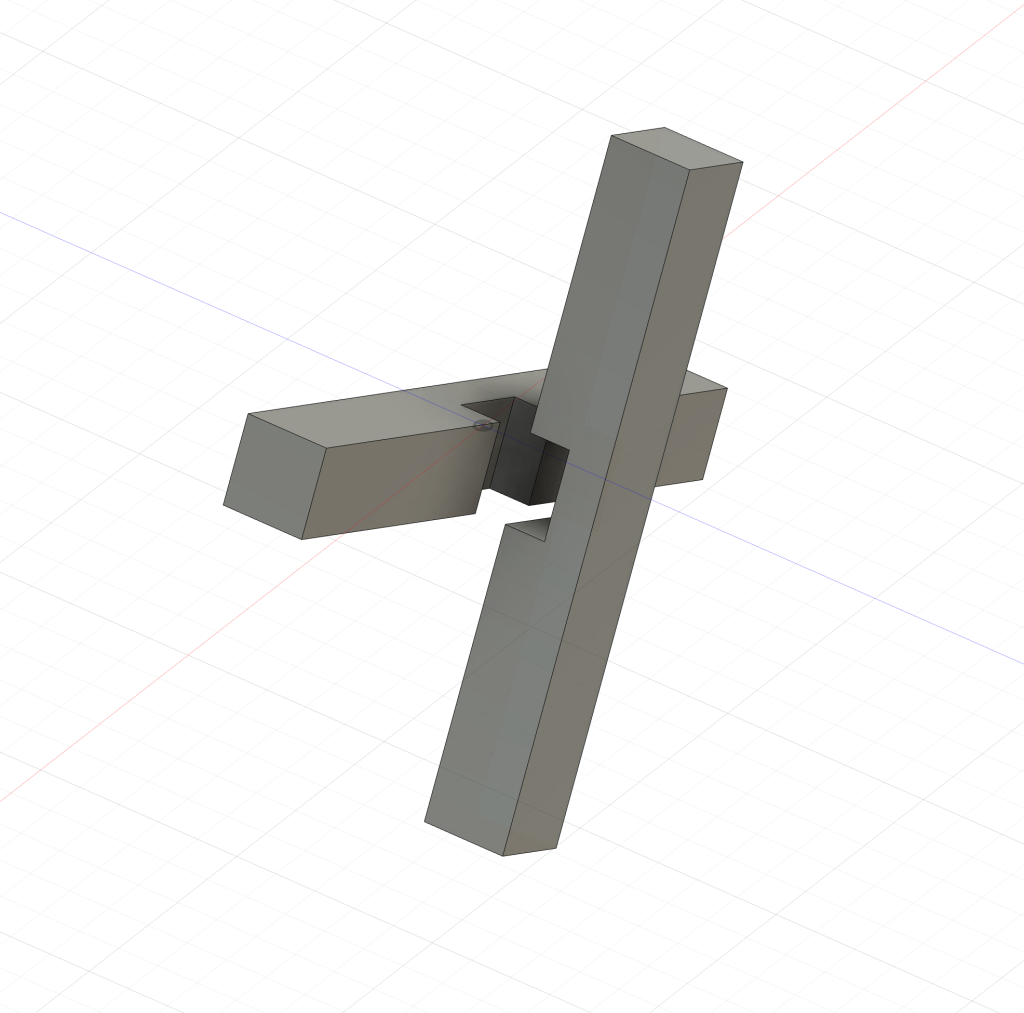
Dad didn’t do much math. The square beams were dimensioned to 3″. He drew a line halfway down the length of a beam and a second line 3″ further. Using a cross cutting sled on the table saw, he slice by slice removed the dado cut.
The legs are held together by a 1″ iron pipe using flanges and two apron skirts across the top. This apron will help support the tabletop as it is in multiple pieces.

Tabletop
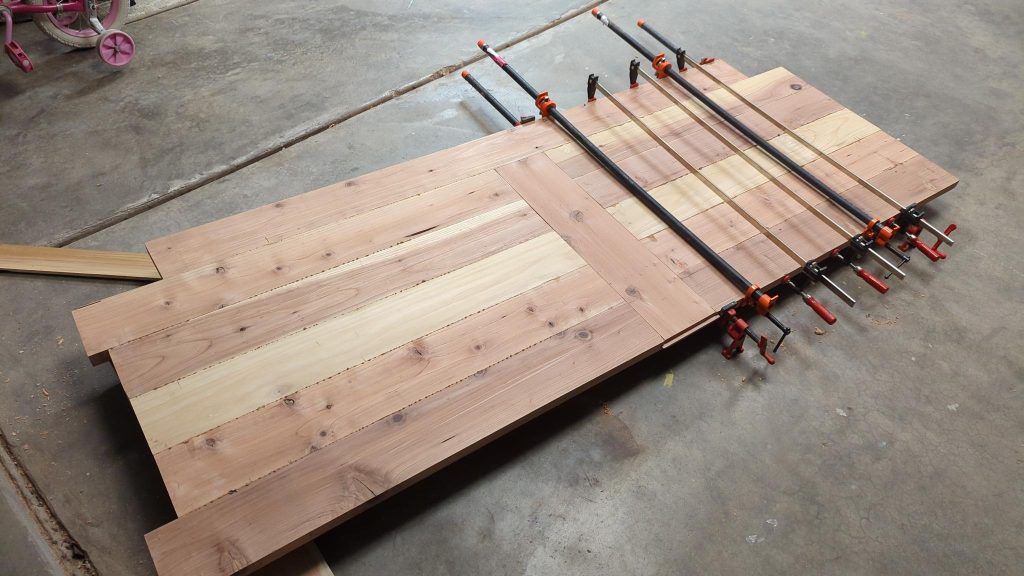
The top is panel-glued 2×6″ redwood boards dimensioned to 1.25″ thick. The boards are face glued with dowels to ensure flatness. The VIP tool for this project is the Dowelmax jig. This machined jig ensures the holes are bored precisely from a given face (in this case the top) and properly spaced down the board.
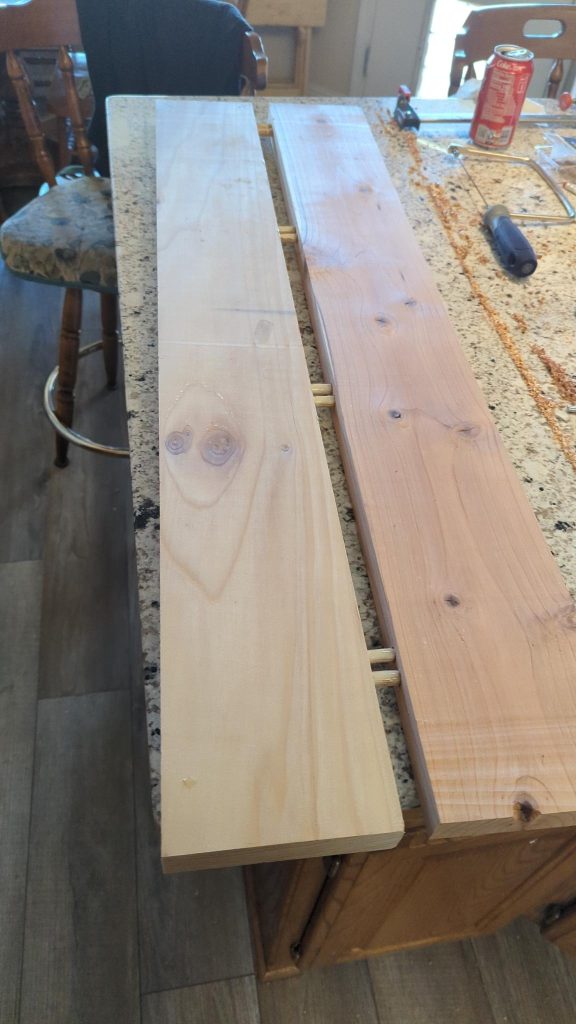
A note for future Dad: These edges should be jointed together face to face. This would ensure they have matching cuts and hopefully perfectly flat glue ups. Fortunately the table saw had been a rock star and the top had no issues coming together.
Assembly
The table top was attached to the legs using dowels and glue. Dad plans on adding figure 8 fasteners to ensure the top stays close to the apron (why are projects never finished!?). Once the top was assembled to the legs, he used a circular saw to cut the excess off.
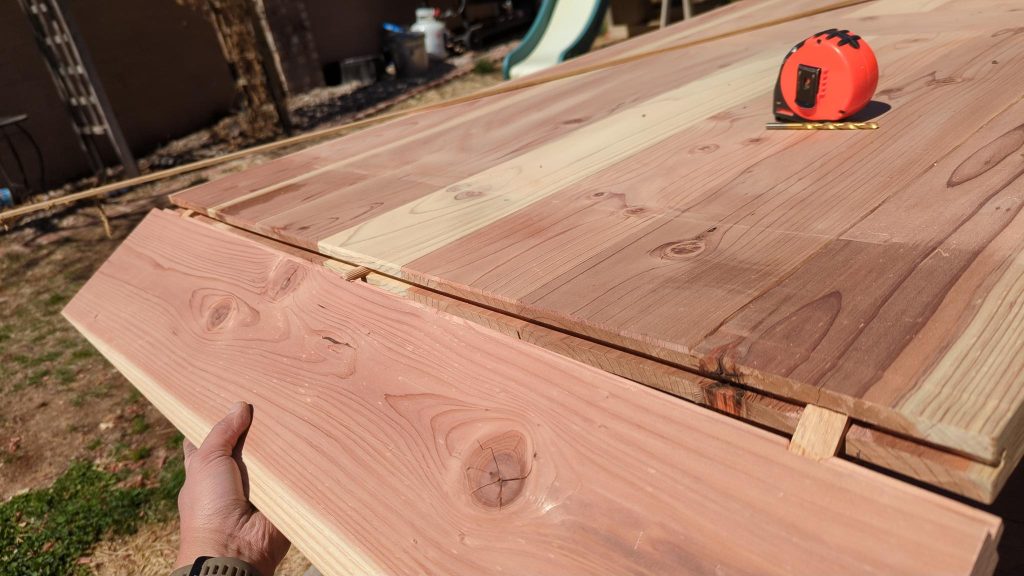
Dad added breadboard ends afterwards due to timing. Little Birds’ birthday party needed a table and time wins again. He created tongue and grooves by using a router with a rabbeting bit in the table. Then, he slowly cut the ends on a table saw until it dry fits into the slot. He added a dowel in the middle and tenons closer to the ends. The breadboard ends are only glued in the middle to allow wood movement.
Using the circular saw again, he cut the table to its final dimensions (which happened to be 36″ x 6’7″). Routed a round-over edge to smooth out the edges (this will help keep the sealer from peeling, plus it looks good). Finally, he stained with a rag and sealed with a white bristle brush with an exterior finish.
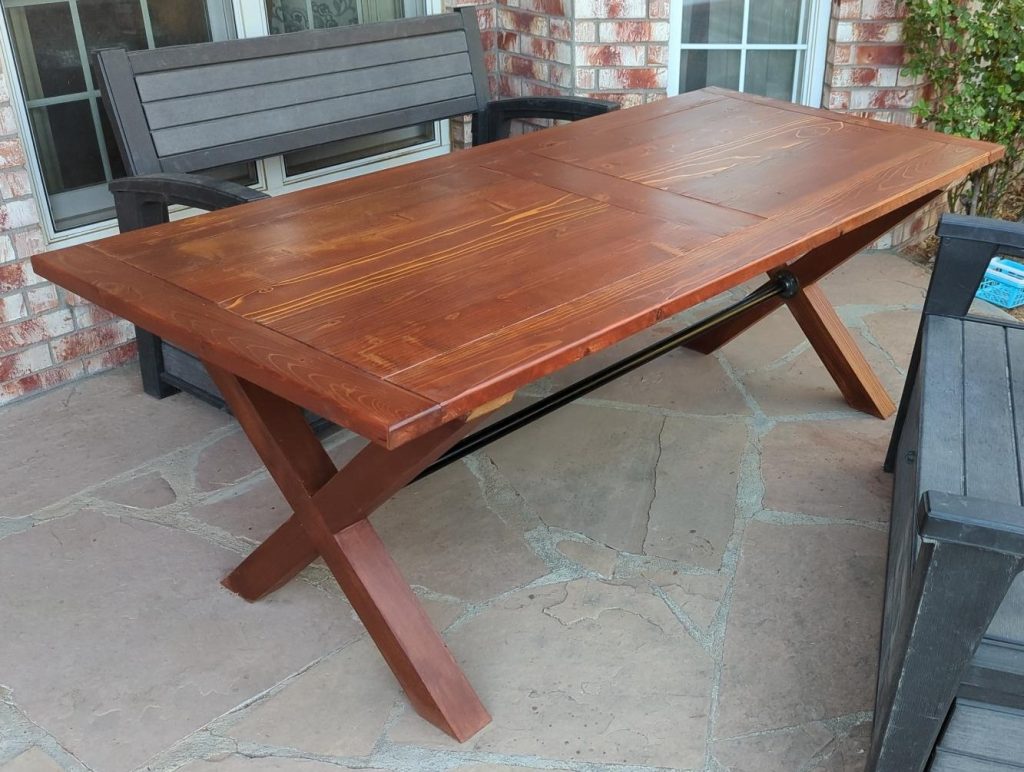
Ultimately, Dad had fun building this table and highly recommend any handyman to attempt it. It is not difficult and has a lot of forgiving tolerance.
And always, Keep making sawdust! – Dad