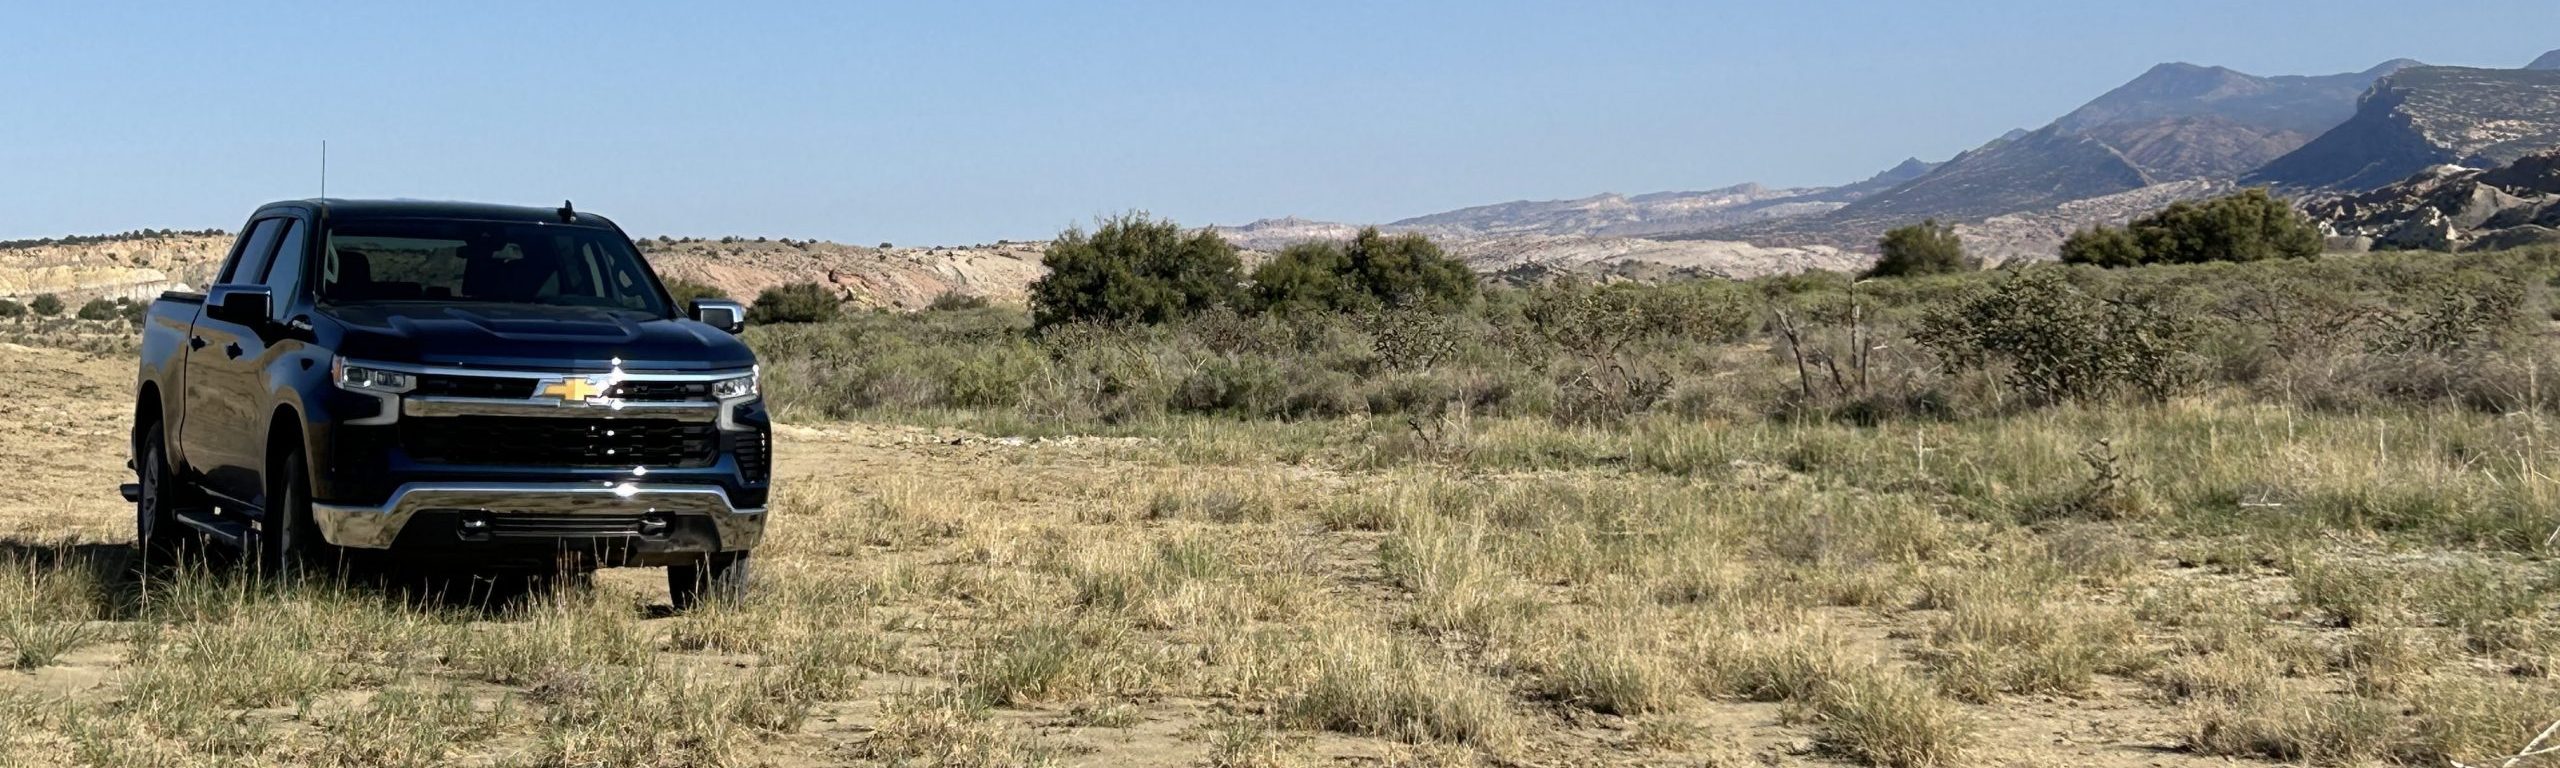
The name of Wolf Pack’s truck, which is a 2022 Chevrolet Silverado 1500 LT. Which ironically, Dad said he would never own. It all started in the second week of July, 2023. The family had a Kia Sedona for hauling and a Mazda 3 for in-city shuttling, but on a hot summer day, the sedan began to reek fuel and in one instance, Mom was stranded because it wouldn’t start.
Car shopping
Some background, Mom and Dad have been keeping notes on what they needed for another vehicle. Since the Mazda was the most aging vehicle, they’ve been thinking of replacing it with a more capable family SUV that was still good on gas. Something small, as the Kia would still hold the role of moving cargo or the Wolf Pack.
However, when the opportunity arise, the idea of having a vehicle that would be sufficient off-road and tow a travel trailer became very predominate when deciding the needs of the family. These requirements ended up:
- Tows 7000
- Fits 3 kids across (54″ roughly)
- 4 wheel drive
- Dual front climate
Since the Wolf Pack could not be without two vehicles, Dad starting looking at trucks and full size SUVs at dealerships in town. Comparing prices of eligible vehicles it was down to either a last year model Silverado 1500 or a budget trim Ram 1500.
Hindsight is 20/20
If Dad could do it again, now knowing the travel trailer he will be towing, he would have looked for payload numbers as well. Bandit has a healthy 1880 lb payload which does the job but does not leave any headroom for growth. A minimum payload with 2000 lbs would leave room for growing passengers and the ability to throw stuff in the bed. If size was no issue, a 2500 would be outstanding.
Modifications
More cupholders!

The truck has a jump seat in the front and so there is a floor for the 6th person to hide their feet. The Wolf Pack rarely uses this seat and so Dad built in a wood cup holder for additional bottles and more importantly large enough for 1L Nalgene bottles. There are two slots for cellphones and a flat landing for a trash bag.
Adding a trailer brake controller

One feature Dad did not know to look for was the Max Trailering Package (NHT). This package would have installed a shorter final gear (3.42 vs 3.23), Heavier Springs, 9.76″ axle vs 8.625″, a transmission cooler, trailer camera capabilities, and the most missed feature, a built-in trailer brake controller. Fortunately, He is not afraid to break some eggs and his plan was to install one himself. Soon, he found out he had to do it quick.
Dad noticed in Chevrolet’s catalog two brake controller options. One was the Curt ECHO, which is a wireless controller that plugs in-line to the trailers 7-way RV blade socket. It is configured via Bluetooth using Curt’s Smart Control app and is very non-intrusive, easily transferable solution. Dad was okay with it but was not a fan of having another app on his phone and requiring a Bluetooth connection constantly to control it while driving. The other was the Curt Spectrum. This controller piqued Dad’s interest as the controller can be hidden within the dash and not in knee bashing height. The gain knob has a minimal clean factory look. The controller also have accelerometers to detect changes in velocity and automatically apply brakes to keep the trailer docile. Dad definitely was liking this style of controller brakes.
After further research, Dad learned about the REDARC Tow-Pro and with its much smaller footprint with very positive review, the controller and a pigtail harness was purchased. The travel trailer was getting ready and may be delivered within the week so right when Dad received it, he went into installing it.
The installation was fine. The instructions stated to drill two holes for the knob and light tube. Meticulously taking apart the dashboard was the longest part. The bottom kick panel that hides the fuse box does not have any screws, but to get to the trailering switch panel, he had to remove 3 7mm hex screws, each covered by the adjacent dash pieces. The switch panel had a plate that ran across the whole width of the piece and unfortunately it was too thick to mount the remote to it. Dad used a Dremel with a grinding stone to, lack of a better word, melt the plastic he needed removed. Once enough soft touch is exposed, he mounted the remote.

Within the dashboard there were two places Dad like to hide the controller, either behind the fuse box or underneath mounted to some struct. Dad decided against the prior location because if he needed to access it, he would have to remove dashboard parts to get to it. He looked underneath and staring right at him was a plastic air vent that had a plastic structural mounting arm. It looked about the right width and so it was perfect. He drilled two holes wide enough to use M4 screws and mounted the controller to the air duct. The rest was just wiring and he was then ready to pick up the trailer.
Device mounting
While towing the TT, the trailer has several monitors that would be nice to make hands free.
Accessorizing
Deleting Stickers and Gold

The first thing Dad did was removed the branding; the dealership decal and the 4×4 stickers were the first to go. He quander back and forth regarding the gold Chevrolet bowties and finally, he bought the black front emblem and replaced all the black. Personal preference, but it does look better with the Northsky Blue Metallic.
Stake Hole Covers

The bed has 4 stake hole slots for accessories or wood stakes but the two aft slots did not have covers. Dad did not use them so he wanted to cover them to give it a flush look. Thus he found a model online and added its nameplate and 3d printed it with dark blue filament he had at the time.
Bed accessories

Tonneau Cover, Tie down Anchors/strap tool mount, Bed Rug, Bed divider (not shown)